December 16, 2020
How to Dry and Preserve Flowers: 3 Ways + Ideas

Not sure what to do with your Valentine’s Day flowers after the holiday, or want to commemorate blooms gifted to you on a special date? It turns out that making a floral keepsake of your special memories is easier than you may think.
Whether it’s your priceless bridal bouquet or a particularly important arrangement from a loved one, you have a few options for drying or preserving your flowers when it comes to saving the beauty and sentimental value of your blooms.
Shop Best Selling Flowers
You might be wondering how to dry flowers or where to start! No matter if you choose to dry your flowers or opt for another method of preserving them, you’re sure to have a stunningly special symbol of an important memory. Check out our step-by-step guides below for different methods of both drying and preserving your flowers.
How to Dry Flowers
Drying flowers is a popular option for saving flowers, especially for those wanting a romantic, quaint look for their blooms. Dried flowers can be used as décor to add texture to a living area, a conversation-starter dining table centerpiece or as a tangible reminder of a special memory.
Before you get started, here are some pro tips to keep in mind to make the drying process as seamless as possible, as well as to ensure that your flowers are up to the task:
Air drying works best for bouquets and robust flowers such as roses, or small, long-lasting varieties like lavender.
The microwave drying technique is great for preserving color and structure in flowers like individual gerbera daisies, chrysanthemums, roses, and tulips.
Use alternate preservation techniques for more delicate flowers, like lilies, such as pressing or framing.
Don’t wait too long to dry your flowers, as fully mature blooms will likely lose their petals in the drying process.
Now that you know the basics of air drying flowers, let’s get started with some of the different options you have: air drying and microwave drying. Keep in mind that dried flowers fade quickly in sunlight or extreme heat, so be sure to keep your flowers in cool areas and away from windows.
How to Air Dry Flowers

Air drying flowers is one of the most traditional, albeit more time-consuming, methods of drying your blooms. This method involves letting nature do most of the work to dry your flowers out over time, with you being able to sit back, relax and wait for the end result.
This method works best for bouquets or larger floral arrangements, as well as bigger flowers such as sunflowers.
Here’s the steps to take when air drying flowers:
Strip excess foliage from flowers and cut stems to desired length (no shorter than six inches). To help flowers retain their color during the drying process, make sure to remove them from sunlight as soon as they’re cut.
Hang flowers individually or rubber-band stems together to hang a bouquet.
Find a dark, dry area with good circulation, such as an attic or unused closet. With unflavored dental floss, secure the bottom of the flowers’ stems to a hanger so that they hang upside down to dry.
Leave flowers for two to three weeks until completely dry.
Remove flowers from hangers and spray with unscented hairspray for protection.
How to Dry Flowers with a Microwave
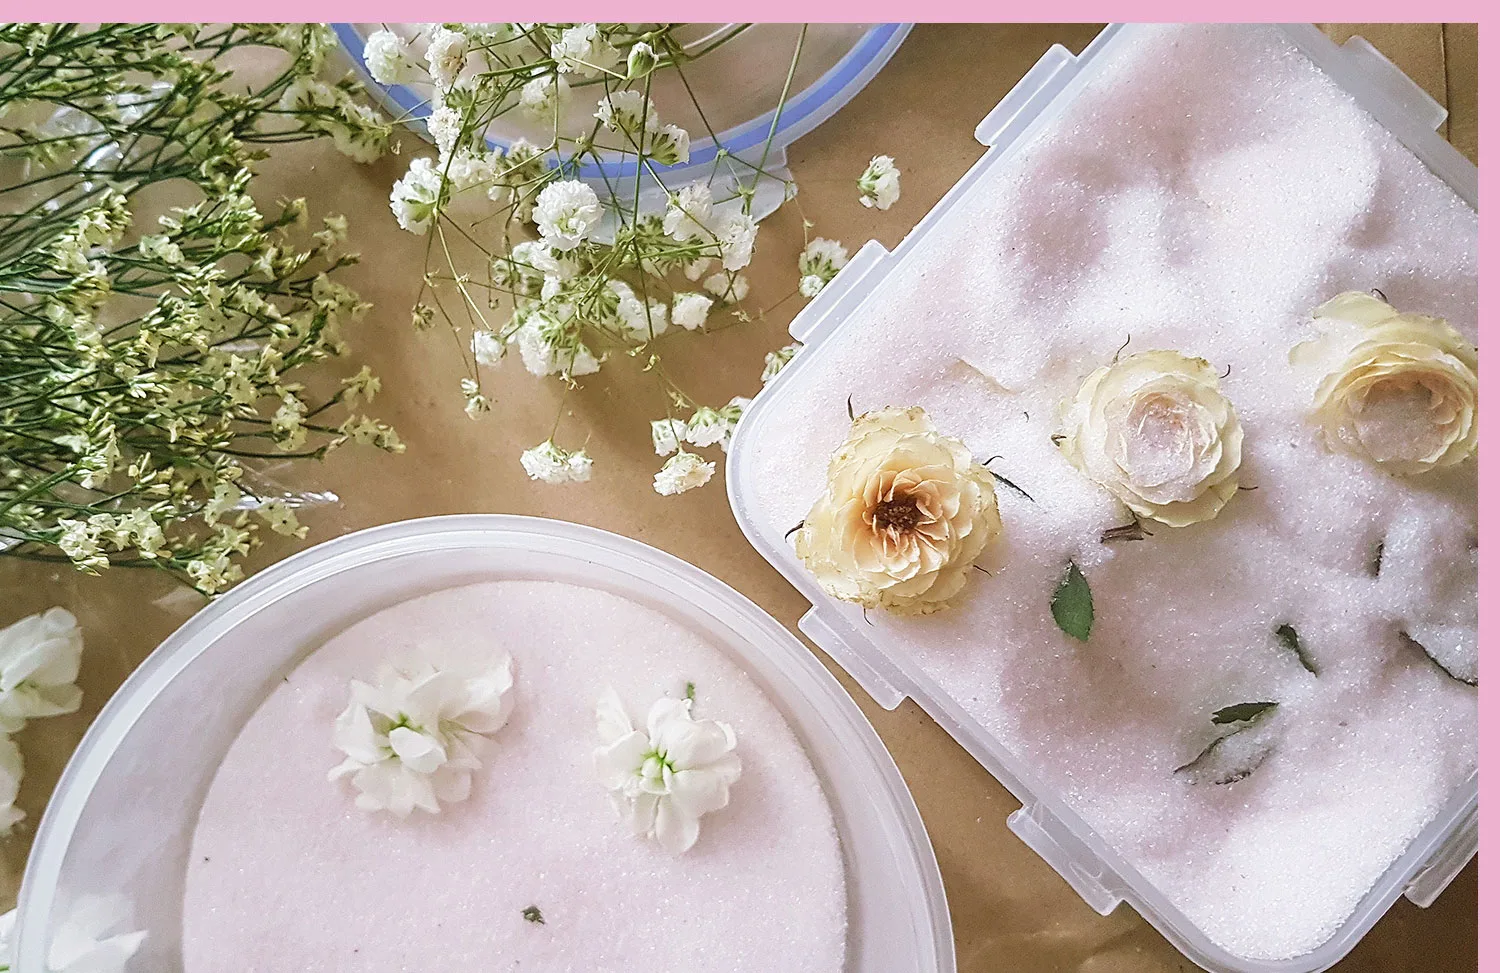
If you’re looking for a quicker alternative to air-drying, good news: you can have beautifully dried flowers, using an appliance you likely use every day. The microwave method of drying flowers requires silica gel, which you can find in craft stores. The gel preserves the shape of the flowers, and can be used over and over again.
Here’s how to microwave dry your flowers:
Find a microwave-safe container that will both hold your flowers and fit into the microwave. Do not use a dish you want to use for food again after this project.
Cover the bottom of the container with an inch or two of silica gel, a bit more for larger blossoms. Place flowers blossom-up in the gel and then pour more gel over the petals. Pour gently, or use your hands, so that petals don’t get flattened.
Place the uncovered container in the microwave. Microwave temperature and time will vary according to the type of flower, so this step requires a bit of trial and error. Start the microwave on one or two heat levels above defrost for 2-5 minutes. Roses can withstand more heat, while daisies are best dried at lower temperatures.
Check your flower’s progress in the microwave after about a minute, and then every 30 seconds. Increase heat and time as needed.
Once flowers have completely dried, open the microwave and immediately cover the container.
Remove the covered container from the microwave, open the top a quarter of a centimeter, and let it sit for 24 hours.
Clean the gel from the petals with a fine-tip brush and then mist with an acrylic spray (also available at craft stores).
Finally, display or use your dried flowers in craft projects as you like.
How To Preserve Flowers
If you’re interested in alternative ways to preserve flowers, including ideas for craft projects to display your dried or preserved flowers in, look no further. From preserving flowers in resin to pressing flowers, you have plenty of options to choose from. Learn more about the different methods of preserving flowers below!
How to Preserve Dried Flowers

When preserving dried flowers, you’re ensuring that your dried flowers last as long as they can. While dried flowers are able to be enjoyed longer than fresh ones, dried flowers still run the risk of fading or crumbling over time.
Preservation methods, like dipping them in wax, framing them, drying them in resin and more give your dried flowers even more of a new lease on life. After your flowers have been preserved, you can use them as décor, jewelry or statement pieces in your home to serve as living memories.
Here are some helpful tips to keep in mind when preserving dried flowers, so your projects can stay around for years to come.
Wait until your flowers partially or fully open before drying and preserving them.
Drying works best for more robust flowers or whole bouquets (such as roses) while pressing is the best method for preserving smaller, more delicate flowers (like lavender sprigs or daisies).
Dried flowers can last for a long time no matter the preservation technique, but make sure to keep them out of direct sunlight and away from extreme heat to help your flowers keep their color.
Keep your flowers strong by spraying your flowers with acrylic seal or wax when finished, no matter which preservation technique you choose.
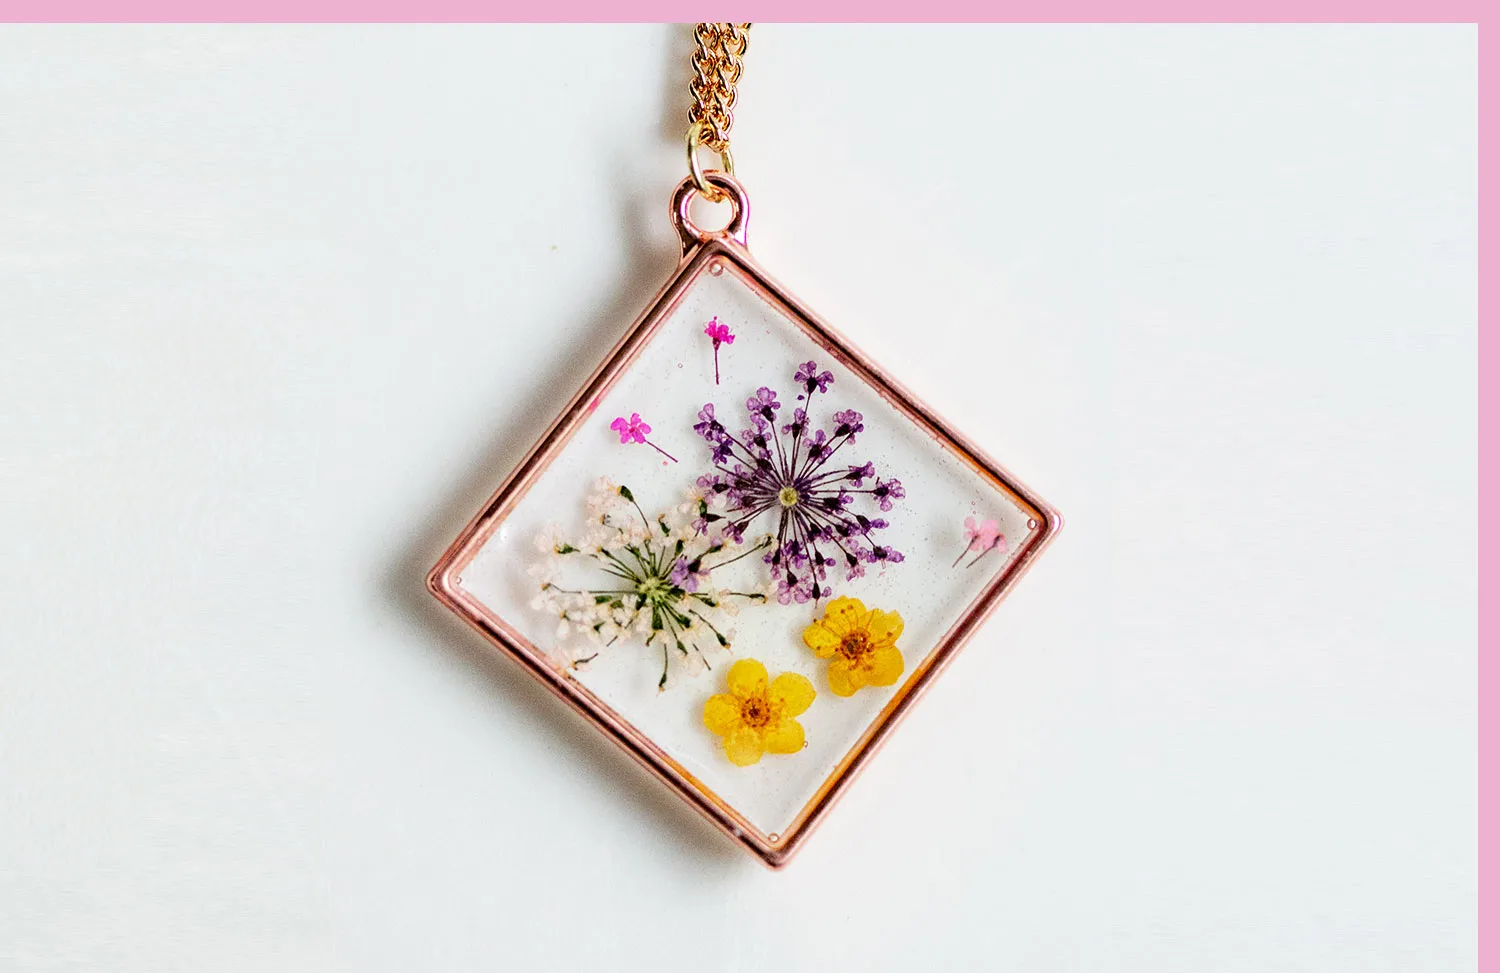
How to Preserve Flowers in Resin
Preserving dried flowers in epoxy resin is another very popular method for showing off meaningful flowers. Keep in mind that resin is a potent chemical that can be dangerous to breathe in, so you should always wear a mask or facial covering when pouring, mixing or dealing with resin.
It’s easier to preserve dried, not fresh, flowers in resin, and most any flower can be used in a resin creation.
Resin Flower Materials:
Dried flowers of choice — Depending on the size of your creation, choose your dried flowers accordingly. For example, if you’re making a resin necklace, you’ll want to choose a smaller, more delicate flower like lavender. If you’re making a larger resin creation, like a coaster, you can use larger or more varieties of flowers.
Other fillings — If you want, you can include other fillings in your project, such as glitter, beads, sequins or other objects.
Resin — Choose a high-quality resin to ensure your project has a solid base. Resin can be purchased at craft stores or online.
Silicone mold — It’s important to make sure your mold is silicone and flexible, and not hard plastic. These can also be purchased at craft stores.
Heat tool — You can use a heat gun or a hair dryer to blow out air bubbles in your resin as it cures.
Mixing cups — Buy new, plastic ones or use cups you won’t use for drinking again after this.
Mixing sticks — Popsicle sticks or other wooden paint mixing sticks are the best bet here, which can be purchased at a craft or hardware store.
Catch tray — Use an old plate or a plastic dish to ensure resin doesn’t get all over your work area.
Rubber gloves — Resin can be harmful to touch, so whenever you’re handling it make sure you’re wearing clean, rip-free rubber gloves.
Facial covering — It’s very important to always have a facial covering on when handling resin, as it is a potent chemical that can have harmful side effects.
Sandpaper — If your mold has sharp edges or you want to make your project as smooth as possible.
Toothpicks — Use these as opposed to larger sticks for arranging your flowers in the mold, or for popping air bubbles as your resin cures.
Now that you have your materials ready, here’s how to preserve flowers in resin.
Mix the hardener and base resin. All epoxy resins consist of these two-part systems, which ensures your resin will cure smoothly. The exact ratios of the hardener and base will vary based on brand and type of resin, so read instructions on your particular type carefully. Let dry between 12–48 hours.
Once your resin has been properly mixed, pour the resin base into your silicone mold of choice. Ensure your mold is dust- and lint-free before pouring, as anything in the mold will float in the resin. Pour resin to a thickness of your liking, though be careful not to fill anywhere higher than half the height of your mold.
Use a heat tool (such as a hairdryer) to remove any air bubbles from the resin.
Place flowers face-down into your silicone mold, using a toothpick (not your hands) to arrange to your liking. If you’re including additional items, such as free-standing petals, leaves, glitter or beads, arrange them as well.
Let cure for approximately five hours.
Once the initial layer of resin has cured, carefully pour the second layer into your mold. Use a heat tool to carefully remove air bubbles from the resin.
Let the second layer cure for another five hours, carefully checking to remove air bubbles when they form.
Check your mold after the second layer has cured. At this time, the resin isn’t fully cured but should not be sticky.
Carefully remove from silicone mold. The object will still be slightly flexible, so remove mold slowly to prevent creasing or breakage.
Leave your object in a flat position on a paper towel or plate to finish hardening. If needed, sand any sharp edges with sandpaper to create a smooth finish.
Preserving flowers in resin can be used for jewelry, décor, memory boxes and more. Be careful to keep your resin creations out of direct sunlight, as over time it can bleach the flowers and cause the project to become opaque instead of clear.
Additional Ideas on How to Preserve Flowers
With all the many options of how to preserve flowers out there, it can be hard to choose just one. To help you narrow it down, here are nine more suggestions on ways to preserve your dried flowers, from art projects to floral décor that can be enjoyed for years to come.
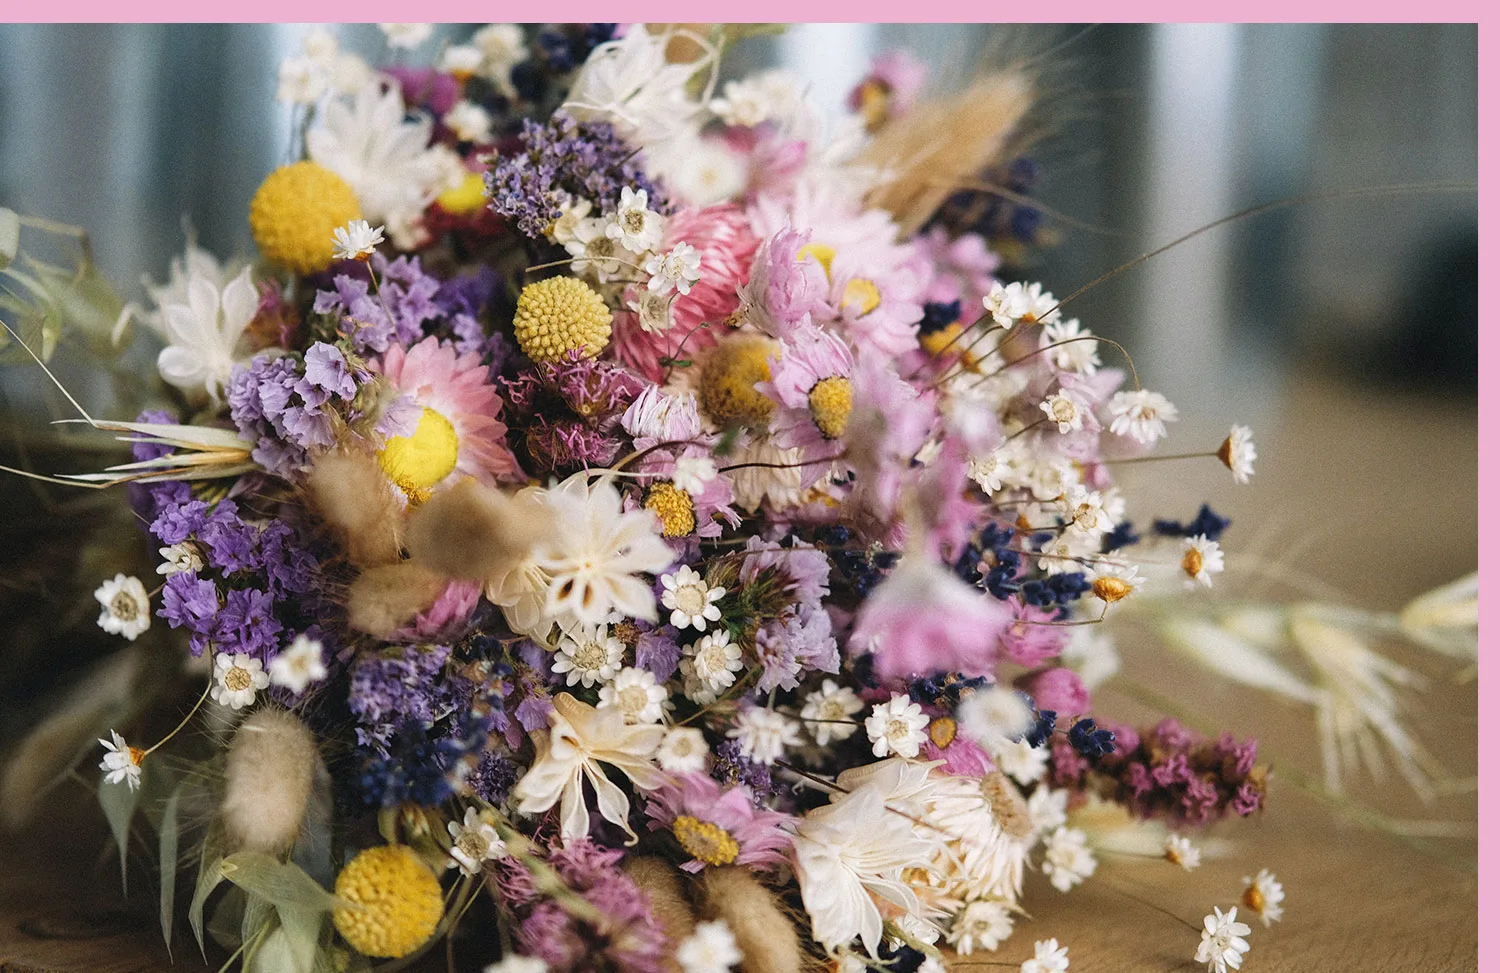
Create an infinity bouquet for an anniversary or wedding party.
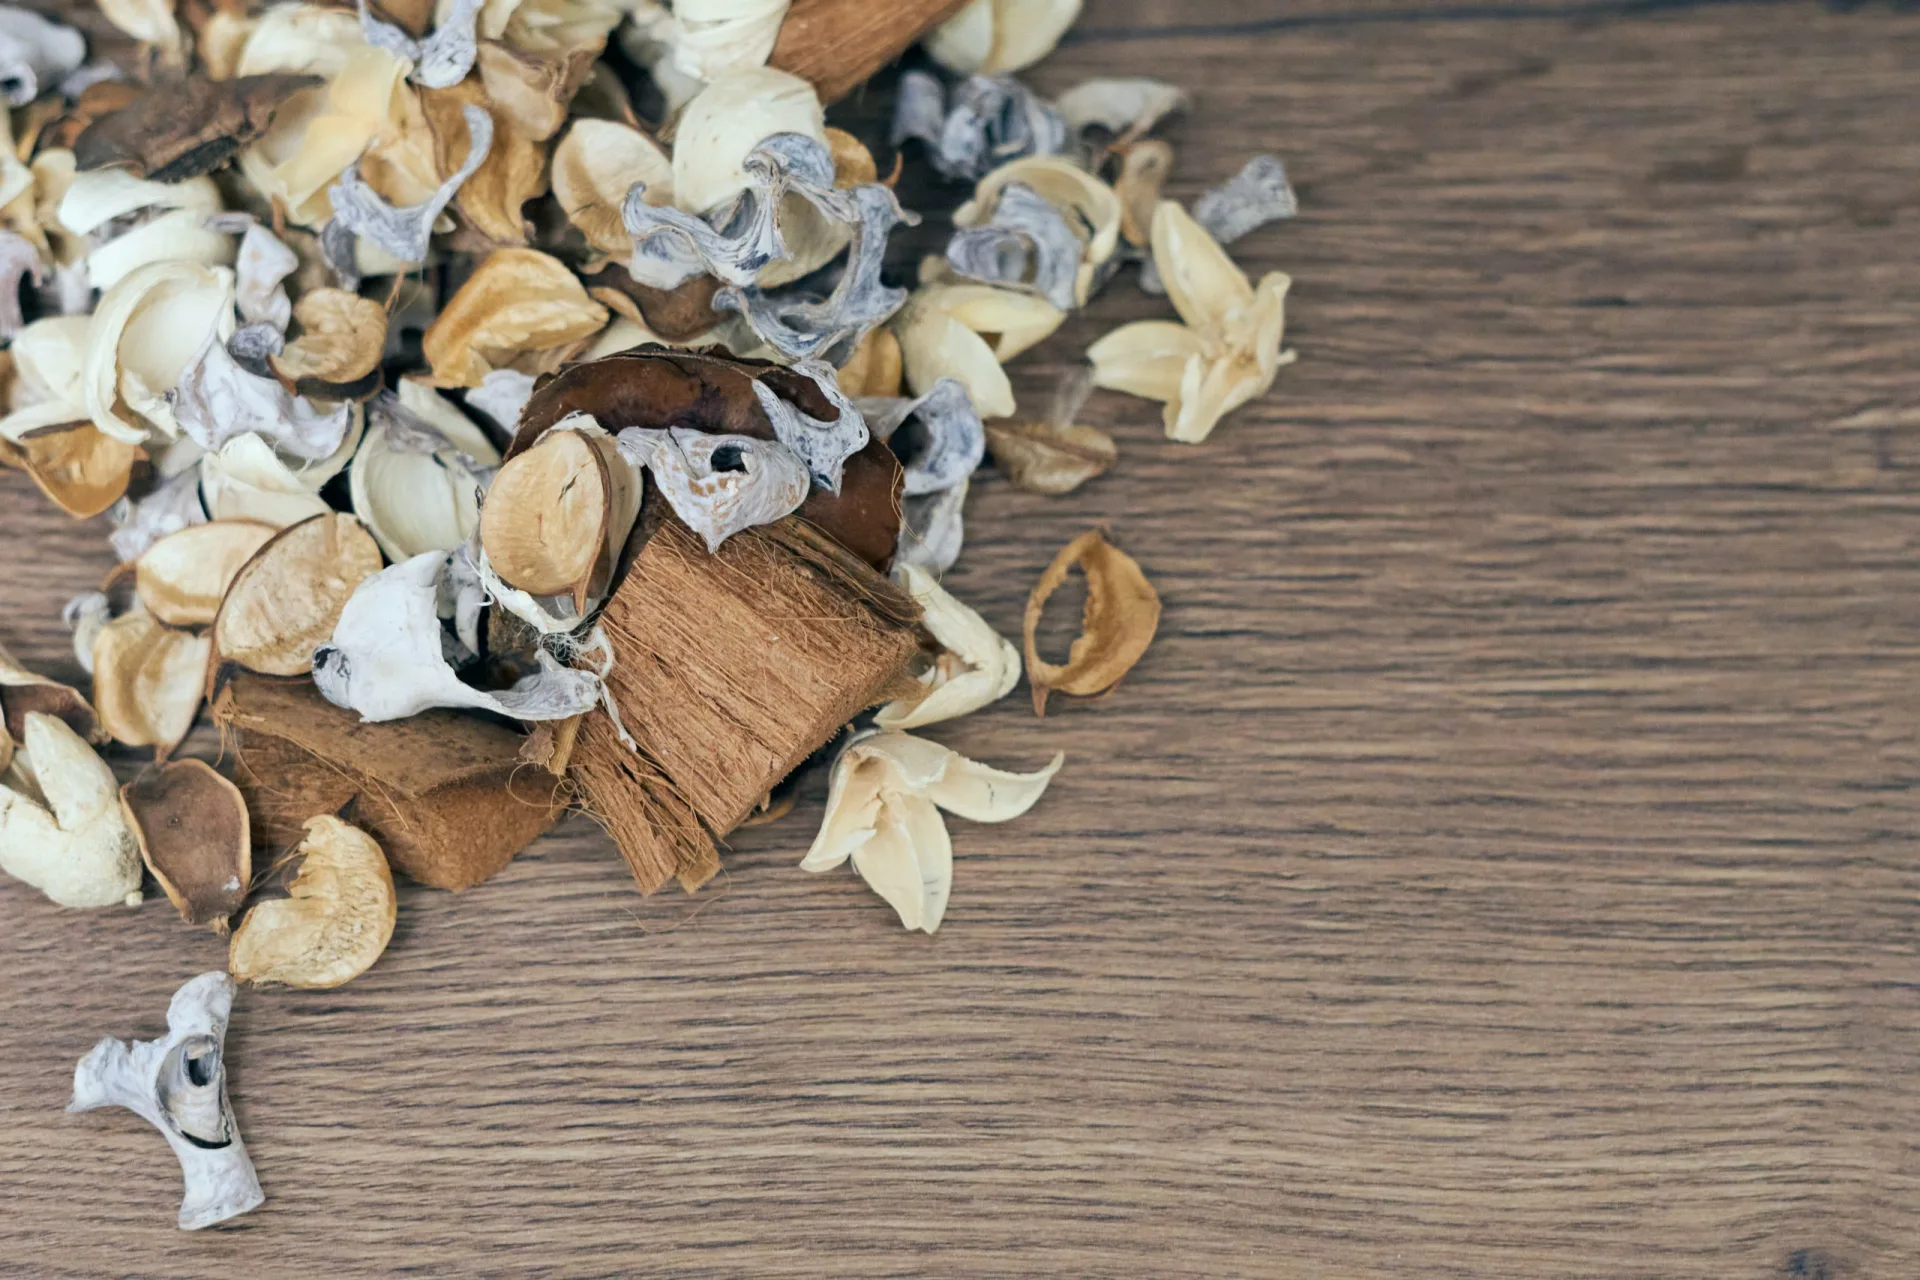
Combine dried flowers and essential oils to make potpourri.
Use meaningful blooms and other items to assemble a shadow box.
Press an individual flower in a glass bead to create a one-of-a-kind necklace.
Celebrate the holidays with ornaments made from dried flowers, resin and glitter.
Add a touch of romance to your décor with decorative jars filled with dried flowers.
Make your door welcoming by incorporating dried flowers into a seasonal wreath.
Frame pressed flowers with a handwritten note or favorite poem for some meaningful wall art.
Dip flowers in wax for an everlasting table centerpiece you won’t have to replace.
From birthday flowers to ones gifted after a recital, these methods of preserving flowers will help keep those special memories alive with commemorative keepsakes. Be sure to share your dried or preserved flowers with us — we love sharing crafty photos with our community!